Monday, December 8, 2014

2 MINUTE Chocolate Fudge

Oh, the hustle and bustle of the holiday season... Are you feeling it??  I am... ...And like Julie Andrews.... I simply remember my favorite things....

These are a few of my favorite things....

Anything that saves me time.

Chocolate. 

A beautiful gift, to give...and also to open...

This 2 minute chocolate fudge is all of my favorite things wrapped up in one.

You cannot mess this up.  It is just that easy.

I would give you a money-back guarantee on this...if I could.

  You can customize this fudge...add toasted nuts...add a different dried fruit.... make it darker or lighter depending on the coca you use...but at the end of the 2 minutes... you will have a gift-worthy, easy, chocolatey treat...for someone special.... 

I love that it's quick to make, the kids can help and almost without any help...
A perfect gift for foodies, a nice addition to a cookie tray.... it pairs well with a cup of coffee after dinner...
...Perfect as a last minute piano recital treat... This fudge is currently one of my favorite things.... because it takes 2 minutes to make... Not to mention it is delicious, and looks beautiful too... 
 Here is the easy recipe:
2 MINUTE CHOCOLATE FUDGE:
4 Cups confectioner's sugar
1/2  Cup unsweetened cocoa powder
1/4 tsp salt
1/4 Cup milk
1 TBS vanilla
1/2 Cup butter (1 stick)


First, line an 8x8 pan with waxed paper, set aside  This will help you to easily lift out the fudge at the end.
Mix the sugar, cocoa powder and salt together in a microwave safe bowl, blend with a fork.  
(I made two batches, one using Hershey's Special Dark cocoa powder and one using regular chocolate cocoa powder...which explains why some fudge pieces are chocolate and some are dark chocolate in the photos...both are fabulous and very delicious)

Add the milk and the vanilla, stir as much as possible, until combined.  The mixture will be clumpy and sticky but not smooth yet.  

Add the stick of butter on top of the mixture.

Microwave on high for 2 minutes.

Stir the mixture together until it becomes shiny and smooth. (Some butter my still be visible after microwaving for 2 minutes...but should melt and combine with enough stirring.)

Add chopped dried fruit or chopped toasted nuts, if using.
(I used dried cherries and candied cherries ..the kind used for fruit cake
You could also use dried cranberries, dried blueberries... )

 Pour into the prepared pan.

Refrigerate for 1 hour, cut into small squares and serve.
Keep leftover fudge covered in the refrigerator.

Below is a handy-dandy photo tutorial on how I made the pictured Dark Chocolate Cherry Fudge:


Sharing at these blogs:
Thistlewood Farms

Thursday, December 4, 2014

SANTA PHOTO TREE

One of my very favorite Christmas movies of all time is Home Alone.

Love the story,  love the music, the scenery, the home....love, love, love it.

I also love one of the songs from the movie...Somewhere In My Memory... 
It makes me feel like Christmas... and reminds me of another one of my very favorites...

My Santa photo tree.
I have put this tree up for years now...and every year I love it more and more.  ...Maybe it's seeing all those little bitty faces...that are growing up so fast...or the faces of aunts and uncles as children... it is a joy to put this tree up and everyone who visits enjoys looking at all the history too....

 A trip down memory lane....
The Santa tree has taken a number of different forms over the years and has appeared on a variety of different Christmas trees...
No matter where it is, it's a beloved part of our Christmas and it's just fun to look at... those sweet little faces... braving the lap of Santa to tell him their greatest Christmas wishes.... Darling.....
How I made it: Using copies of family Santa photos, I made frames out of red felt.  I measured each photo and cut frames using pinking shears.  (very important...I did not use the original photographs... it's super easy to scan them in and make copies)
Using a dab--a very tiny dab of hot glue, I secured the photos in place and then added a gingham red and white bow.  Simple, lightweight and the red felt frames draw your eye toward the photos in the tree.
I use a variety of Santa Claus ornaments, a mix of new, vintage and antique...but mostly all Santa's and in mostly a red and white color scheme.

Somewhere In My Memory...

Candles in the window
Shadows painting the ceiling
Gazing at the fire glow
Feeling that gingerbread feeling
Precious moments, special people
Happy faces, I can see
Somewhere in my memory
Christmas joys all around me
Living in my memory
All of the music, all of the magic
All of the family, home here with me
Memories of my childhood
When I was 5, 6 and 7
I would wake when dawn would
Living in Christmas Day Heaven
Precious moments, special people
Happy faces, I can see
Somewhere in my memory
All of these dreams all around me
Living in my memory
All of the music, all of the magic
All of the family, home here with me
The tree at night.... 

...Looks like I'll need to put my slippers on and grab a cup of hot chocolate... extra marshmallows please!
Make sure to ask Santa for everything on your list....He really does know who's been naughty and who's been nice... He does.

He knows.

Wishing you a holiday season filled with precious moments, and special people...


Sharing this post at these blogs:

Tuesday, December 2, 2014

TIS' the SEASON for a SANTA HOLIDAY TABLE

A little holiday table inspiration here…  Are you hosting a Christmas dinner??  A holiday feast?? A New Year's Day brunch??? There is still plenty of time to plan a fabulous table….
This was our table from Christmas 2013….I loved the red and the gingham...and all the Santa postcards...I enjoyed it so much I could repeat it again this year.... and I just might...Santa never gets old and I love traditional holiday reds and plaids!!
I used vintage Santa postcards on the table.  I framed them in small black frames (thrift store finds I picked up throughout the year)...simple frames show off the vintage artwork and don't become a distraction on the table....
Look, St. Nick is already in the sleigh...
The sleigh…a thrift store find too…. The very best kind of surprise…
I filled the sleigh with small wrapped boxes, using brown paper (lunch bags would do the trick too).  The boxes were actually 10 cent jawbreaker boxes I found in the old Halloween candy…the perfect size for a miniature sleigh! I tied the tiny packages with baker’s twine…the perfect red and white embellishment.
Fresh evergreens fill the sleigh and they smell amazing....  I love to add fresh cut pine and holly wherever I can. Sometimes, I nestle it among the faux greenery....it adds so much...and the smell... it's the smell of Christmas... (to me)
Adding interest to the table is easy when using small covered cake stands.  This little antique sheep looks extra special standing next to a bottle brush tree and a little "snow"...it creates a mini vignette at eye level when seated.  Each guest at the table has a unique vantage point...and it keeps the table fun and interesting.  TIP:  Sometimes it's a good idea to have a seat before company arrives -sit at the table and "see" what your guests will be seeing from where they will be seated.
Adding little extras, like Christmas crackers can add depth to a table. (Christmas crackers are a tradition originating in the UK, originally called cracker bonbons in the 1840's... Guests pop them open after dinner parties to reveal little prizes, jokes and often a paper crown inside....I had never celebrated with Christmas crackers until I was married... so don't feel bad if you didn't know what all the fuss was about... I didn't know either... they are quite fun and a nice addition to the party)
 TIP:  I am following my own advice this year... At the end of this holiday season... buy up Christmas crackers at a deep discount... even if you dislike the wrapping on them... you can re-wrap them in a wrapping paper that matches your decor... or your table...There are a million kinds of fabulous wrapping papers... and you can personalize your own... Next year... I'm going to be ready!!!  Just remember where you are storing them!!
I love a menu....It doesn't take too long to create a menu....As a bonus, it helps the table look all buttoned up… and making a menu becomes a huge help to my sanity… keeping things in order is helpful when you have a lot on your mind.  I like to print menus on card stock, that way, the menus lay nicely across a plate. -- no slouching at the table!!
 I loosely tied the menu and napkin together with a pretty Christmas-red ribbon I picked up from Jo-Ann's.
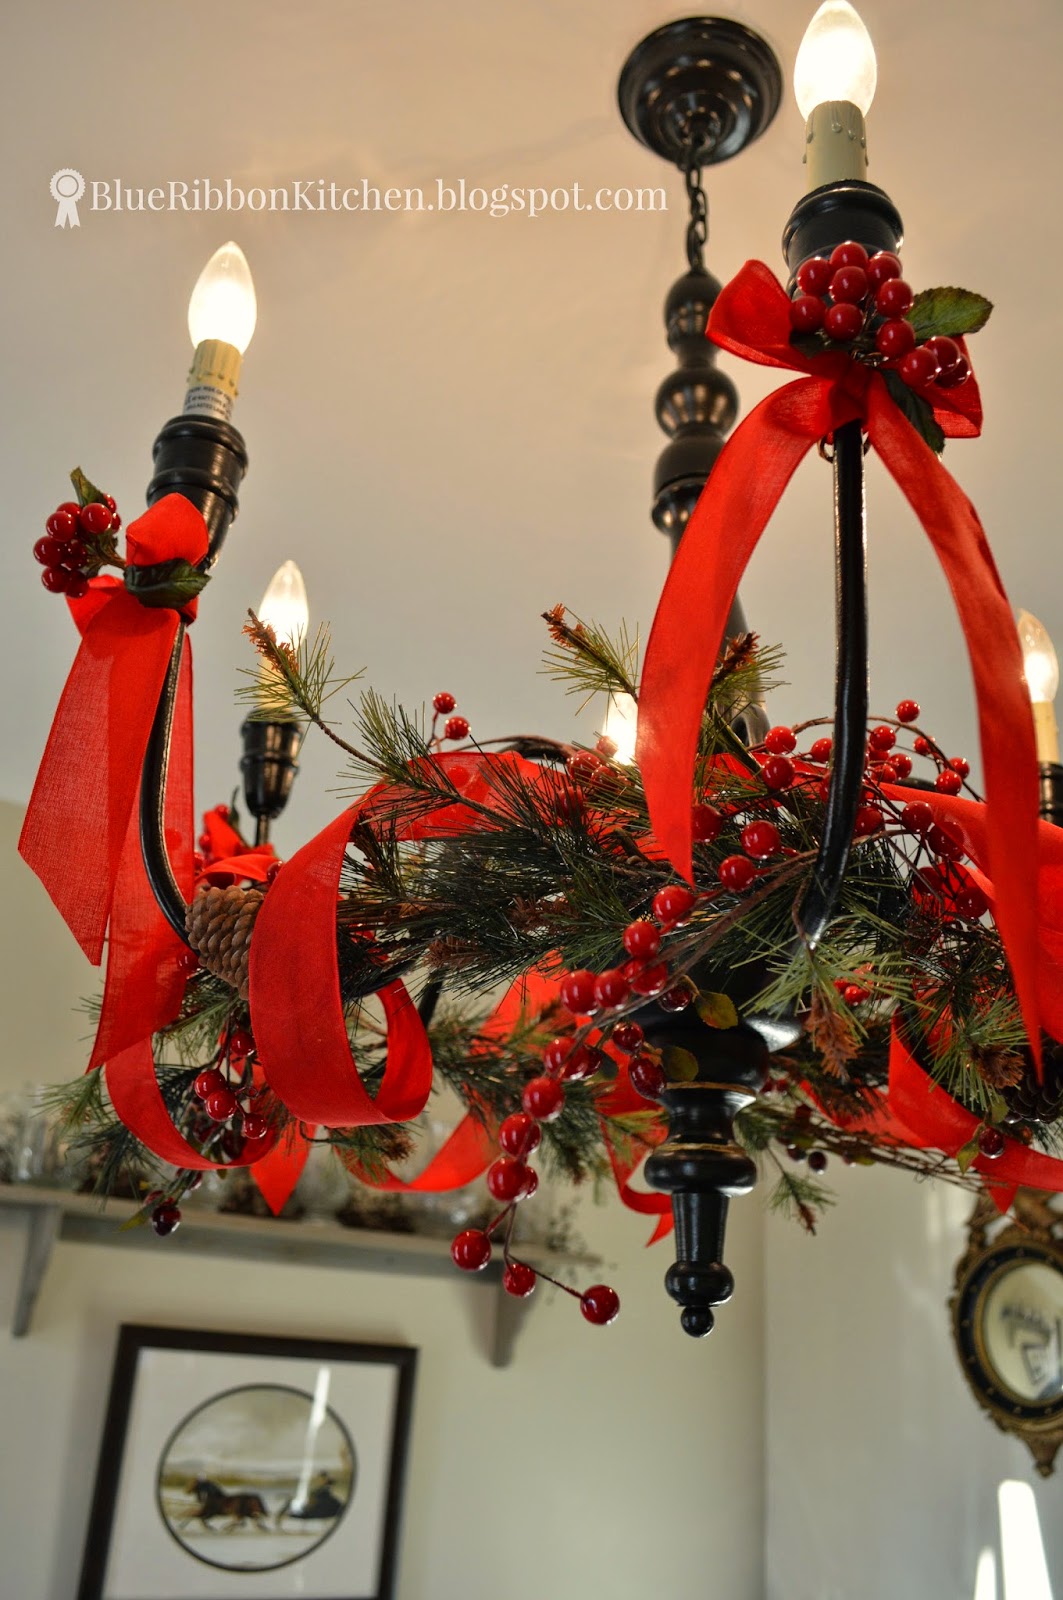
Don't forget to look up... I like to add some embellishments to the chandelier too... Christmas comes but once a year... so don't be afraid to go all out.... Tis' the Season!!

Sharing this post at these blogs: