
Well, last night, baking class was in session...

The most recent installment of Blue Ribbon Baking class.

The lesson included Pumpkin Spice Cake, Cranberry Apple Pie, and my friend Art, taught Yeast Rolls.
Here is a birds-eye view of what all the baked goods looked like....

Our students had a sampling of everything on the table!! Yum!
I taught the pie and cake...

Today, I am trying to recuperate from all the baking and prep work that went into yesterday's class... ...my kitchen could use a make-over as well!

Here I am...sharing all my pie-dough "wisdom"...
When I see this photo, I'm hoping I didn't sound like the teacher from all the Charlie Brown cartoons... (funny thought)
In the above photo I was making ...
A delicious Cranberry Apple Pie with Cinnamon Whipped Cream.

The cranberries in the apple pie, give the pie a little holiday twist.
And for fun I added some pie crust monograms:

Later this week I will be sharing the full recipe for the Cranberry Apple Pie, a How-To just for you...
... and the How-To for the monogrammed pie crust cut-outs!!
What a darling way to add a personal touch to your guest's dessert!!
It's super easy and a great make-ahead task. Stay tuned....
Back to Blue Ribbon Baking class....
The class was very full and I wanted to offer a heartfelt thank-you to all of the lovely folks that came out on a Tuesday night, to the Blue Ribbon Baking Class.

It was such fun, getting to meet you, answer your questions and to have the opportunity to share my pointers... I hope that everyone has the best pie crust-making successes this Thanksgiving!

These are some of the gorgeous rolls Art was baking up last night!


Since we are getting ever so close to Thanksgiving, and I know that so many of us have struggled with pie dough, I thought it would be perfect timing to share a "perfect pie crust" tutorial.
I am re-posting Perfect Pie Crust 101...so if there happen to be any questions out there from last night's class...or for anyone that might need a point int the right direction...
Please feel free to use the tutorial below:

I really wanted to start off by saying...it's so easy, you can do this...which can be really annoying if you've had bad luck with pie dough in the past.
The truth is, you can make a fabulous pie crust (yes, you really can, and I will show you how). Just knowing a few simple techniques can make all the difference. If this is your first attempt--or your 100th, with a few points in the right direction, you will be able to make your very own award winning pies.
 |
| My first place apple pie from October 2013 |
Pie crust... simple ingredients, and..simple to make too.
Perfect Pie Crust a How-To guide:
Everything here has a reason for being invited to the pie crust party... I always use King Arthur flour-- there are additional varieties of KA flour for making different kinds of baked goods. For a traditional crust, all purpose flour is perfect. King Arthur flour is a quality product and it always gives me consistent and top notch results. They have a fantastic website, if you have never been and you enjoy baking, it's fun to visit.King Arthur Website
 |
| THE CAST OF CHARACTERS FOR PIE DOUGH |
Sugar- I use Domino sugar... I have found store brands to be roughly milled and sometimes foreign bits are in the mix, so I stick to the tried and true.
Shortening- I use Crisco- butter flavored will give the crust more color--either are great choices.
Butter- I use Land of Lakes UNSALTED, I use store brands for other baking and cooking, but for pie crusts I always trust Land of Lakes.
Pastry blender-I do my crusts by hand usually, however when making a few pies at a time the food processor is a great help.
Water- chilled tap water...add ice if it's not cold enough.
Vodka- I use Absolute. Vodka helps to lighten the dough and all the alcohol bakes off in the hot oven. If you do not want to include vodka, simply use all water for the liquid portion of this recipe.
Tip: I keep a small 50 % vodka, 50% water bottle in the freezer--so I've always have really cold liquid on hand.
PIE CRUST RECIPE: (adapted from America's Test Kitchen)
2 cups flour
1 teaspoon salt
2 tablespoons sugar
1/2 cup cold vegetable shortening cut into small bits
1 stick of cold butter cut into small bits
1/4 cup ice water + 1/4 cup chilled vodka
THE 3 MOST IMPORTANT THINGS ABOUT MAKING PIE CRUST
- Keep things cold.
The butter, the shortening and the dough...if these get too warm the crust will be an oily, soggy mess. The best way to keep things cold...keep the shortening in the freezer and the butter too, it keeps longer if frozen too (added bonus). Just before making the crust bring these ingredients out and get to work.
When rolling out the dough, make sure the dough is cool. Again, if the dough gets too warm, it is almost impossible to work with. If its a hot day, work quickly, re-chilling as you go to firm up the dough.
Just before baking a pie--make sure the dough is cold by letting it set up in the freezer or refrigerator for a few minutes.
- Relax.
Pie crust can be frozen... wrap the rounds of unrolled dough in a freezer bag they can stay in the freezer for up to 3 months. Just let the dough thaw (without getting too warm) before rolling.
- Bake Low and Slow.
Add foil or a crust protector to the top of the pie if it's getting too brown. I usually add a cover to the crust edges after the first 15-20 minutes, once the crust has set--to protect the edges from over browning.
If you are worried about your pie leaking, place a rimmed and foil covered baking sheet in the oven while the oven is preheating. That way, when the pie is placed in the oven, it will be placed on a hot cookie sheet, helping to get the bottom crust done.
I have a FAVORITE new product I picked up last year from Sur La Table... it helps the pie crust cook through on the bottom AND it protects my oven... it really is a great help if you make pies even twice a year--so worth it!!
No-Drip Pie Shield- Chicago Metallic
 Click here for product info. Available also at: Bed, Bath and Beyond.
I have a FAVORITE new product I picked up last year from Sur La Table... it helps the pie crust cook through on the bottom AND it protects my oven... it really is a great help if you make pies even twice a year--so worth it!!
No-Drip Pie Shield- Chicago Metallic


(longer is better, 3-4 hours or overnight) up to 2 days.


Remove chilled dough from refrigerator. Let rest at room temperature for 10 minutes. If you try to roll out the dough while it is too firm-- well, it just won't roll.


Fit dough into the plate, trim excess from edges. Crimp (there are some BEAUTIFUL pie crust designs, here are a few I thought were fabulous: pie crust edging ideas click here

For the top crust (if using), roll out the dough in the same manner as the bottom crust.
BEFORE you bake---CHILL that pie. You can pop the whole finished uncooked pie in the freezer or refrigerator for 10-20 minutes. The cold air will help solidify the shortening and the butter-- when the chilled pie hits the hot oven air, beautiful things will happen to your crust, making it tender and light. If you put warm pie dough into a hot oven, very unsightly things can happen (trust me, I know).
BLIND BAKING
the art of baking off a crust, intended to be the vessel for a typically cooked or gel pie filling.
Take your chilled, ready to go pie crust from the freezer. Dock it with a fork, making holes in the bottom and sides to help the hot air escape.


There is almost nothing better than a homemade pie.


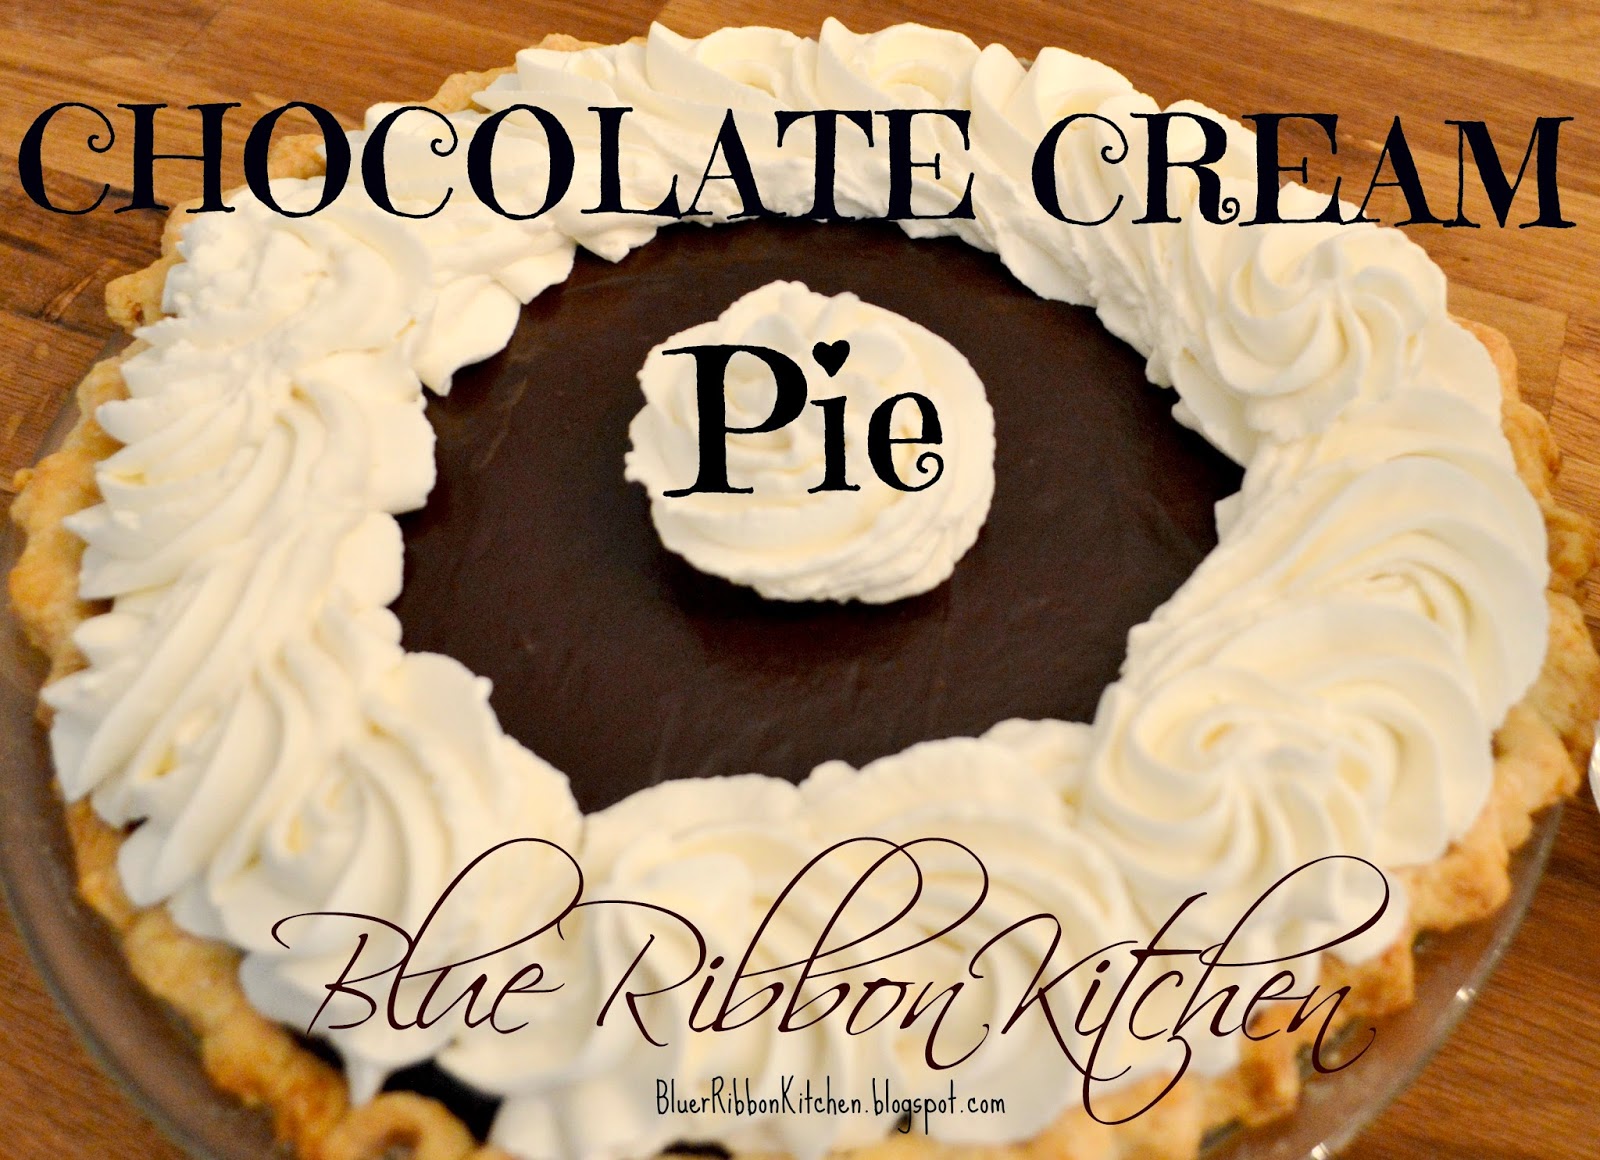
Need some inspiration?? A great pie is the Chocolate Cream Pie...
This is an easy pie with WOW- AMAZING, Over-the-top RESULTS every time! It's worth a try!
Click the link below for a step-by-step guide to chocolate-y goodness...you'll be glad you did.
LINKED TO:
No comments:
Post a Comment